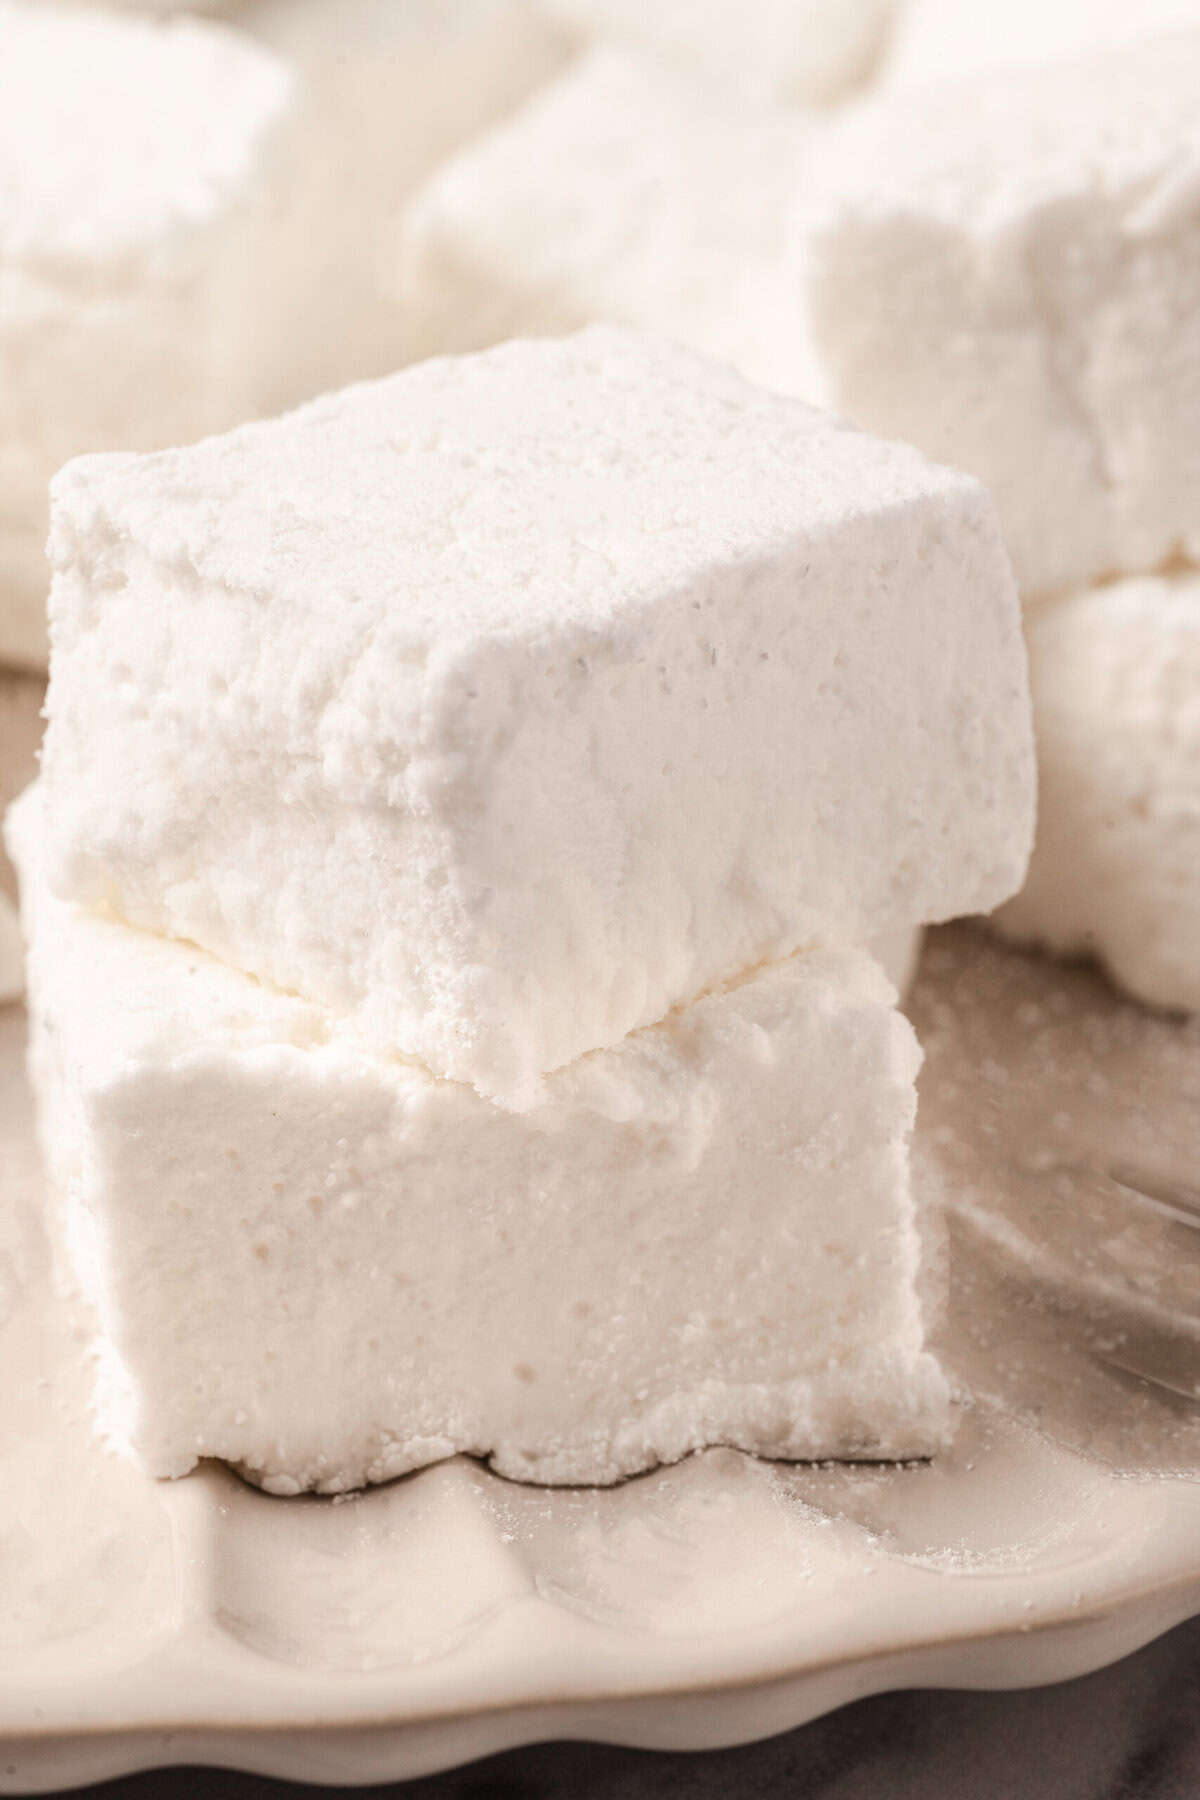

These fluffy, little, cloud-like Homemade Marshmallows are going to elevate your s’mores game and leave jaws dropped.
Table of Contents
The science of homemade marshmallowsHow do I store leftovers?Serving suggestionsRecipeHomemade Marshmallows
We often delight in the delicious foods that come straight from their origin. Think about juicy apples from an apple tree and vibrant oranges and cherries, too. But have you heard of the marshmallow plant? Yes, it’s real! The rich history behind this sweet treat is truly captivating. The transformation of the plant into a dessert is just as unbelievable as these homemade marshmallows are delicious.
First of all, I am a massive lover of marshmallows—probably as huge as the Stay-Puft Marshmallow Man from Ghostbusters. I’m also a foodie, gardener, and historian. I had no idea that there was a marshmallow plant, which is the namesake of these pillow-like sweets.
Surprisingly, the origins of marshmallows date back to one of the oldest known civilizations: ancient Egypt. The marshmallow plant was originally used for medicinal purposes, but later its sap and roots were combined with honey to create a delightful delicacy. The evolution of homemade marshmallows then reached the refined culinary world of desserts in France, and then to the concept of mass production and industrialization in America (now without using the marshmallow plant at all). Who. Freakin. Knew?
Taking a step backward or forward (I’m really not sure), we’re going to de-industrialize the worldly marshmallow and make homemade marshmallows instead. Using some common pantry ingredients, not the roots of the white flowering plant, we will quickly throw together homemade marshmallows. The setting process, however, is similar to making Jell-O. So, find something to entertain the kids for a few hours because if they’re anything like my little sugar lovers, you’ll hear “Are they ready yet?” more than I’d like to admit.
The science of homemade marshmallows
This recipe for homemade marshmallows is straightforward and comes together quickly. However, there is a serious science in making these fluffy sweets, so precision is key. First, you will see in the instructions that the gelatin is to be allowed to bloom once added to the water. This is a fancy word for the hydration of the gelatin. Once added, leave the gelatin to sit, unbothered, for 10 minutes. Another number that can make or break your homemade marshmallows is the temperature of the mixture. Once everything is combined, allow it to reach a temperature of 240°F. If the temperature is too low, the marshmallows will not hold together, and if it is too high, they will be too dense.
How do I store leftovers?
Store your homemade marshmallows in an airtight container at room temperature for up to 1 week. If you have a couple of layers, place a sheet of parchment or wax paper between them to prevent sticking.
Serving suggestions
The most classic use of homemade marshmallows is for adding that sticky, delicious layer to campfire s’mores. You’ve made your own marshmallows; why not take it a step further and add them to your homemade graham crackers? Try these crispy Almond Flour Graham Crackers. Another trick to unforgettable s’mores is to replace your crackers with cookies. I’m obsessed with these Peanut Butter-Oatmeal-Chocolate Chip Cookies, and my daughter loves Taylor Swift’s Chai Sugar Cookies, for obvious reasons. Finally, homemade marshmallows are the perfect topping for any hot chocolate. For something new, make this Creamy Vegan Hot Chocolate.
Recipe
Homemade Marshmallows
Ingredients
Instructions
Nutrition
The post Homemade Marshmallows appeared first on Food Faith Fitness.